Just noting here that I opened a tracking/draft MR with more explanation about the BCHN features in the tempnet branch:
This is a very rough draft implementing several user/developer experience features surrounding network upgrades. It’s the same code originally published here: https://github.com/bitjson/bchn/tree/tempnet and discussed here: Tempnet: 2026 Chipnet Upgrade & Pre-Upgrade Testing - #4 by bitjson
I hope this is a good starting point for discussing implementing some (not all) of these features in BCHN.
Caveat: I’m perpetually a C++ amateur. This implementation is a combination of me hacking things together + test-driven LLM autocompletion + manual review and testing. I only polished the parts where I expected this draft could be useful – UX and documentation. The code is just beyond “works”, probably not “correct”, and definitely not “fast”.
Ultimately, if any of these features are pulled into BCHN, I think the C++ code in this initial implementation should tossed in the trash, and only the user-facing design, RPC calls, descriptions, naming, docs, etc. should be pulled into focused MRs.
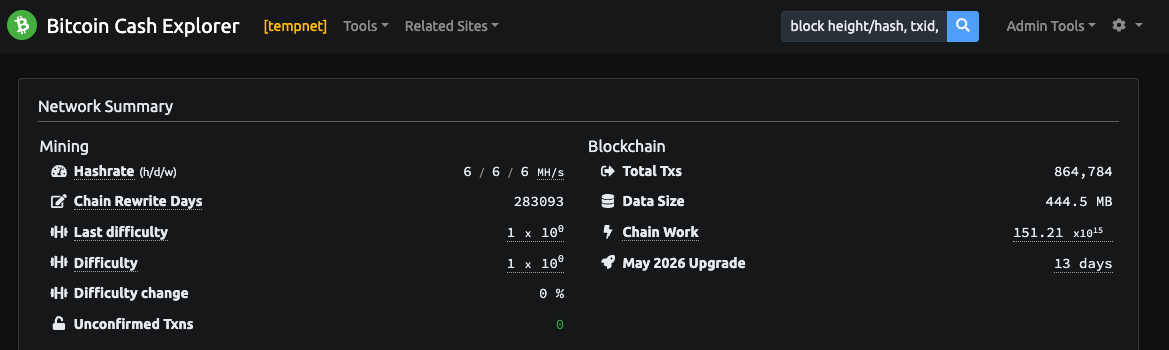
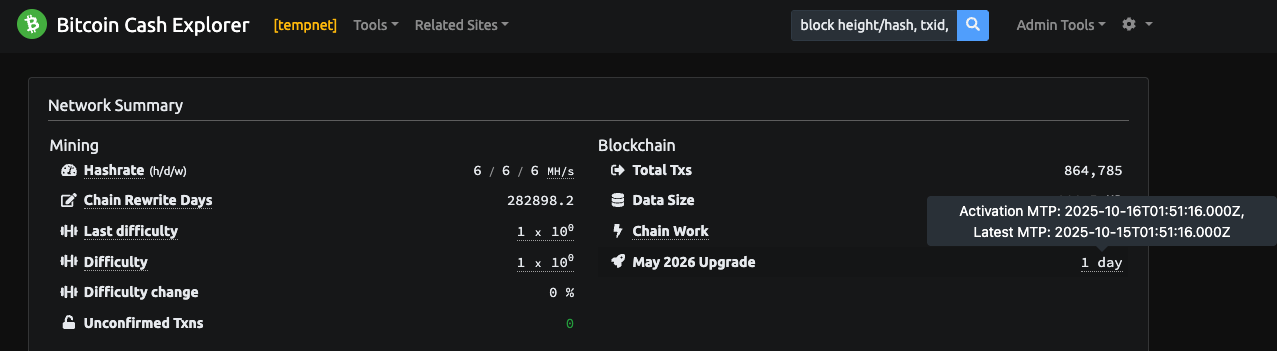
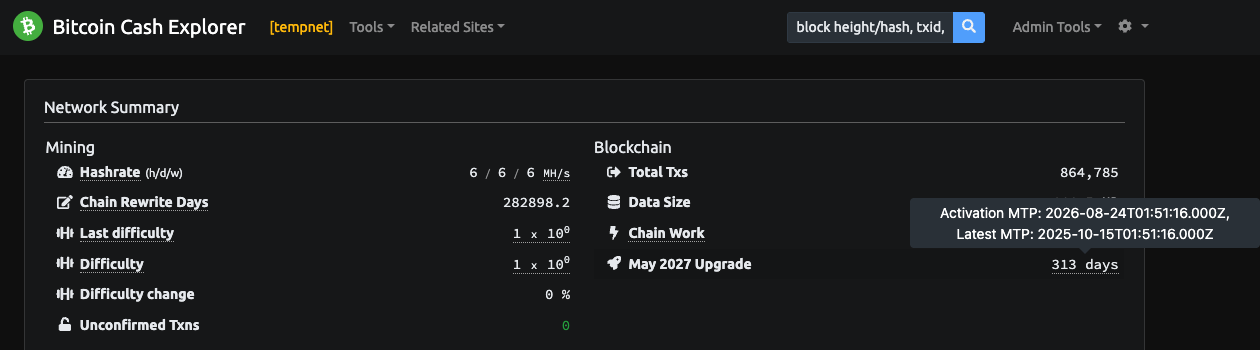
“Tempnet” network designation
It’s very useful for pre-chipnet upgrade testing to have a designation for temporary networks. Avoids clobbering your chipnet data directory, simplifies setup for testers, allows us to polish the UX/DevX by e.g. (as implemented here) making tempnet nodes expire shortly after the expected chipnet upgrade (so that properly configured nodes will simply stop and re-join the real chipnet when automatically restarted).
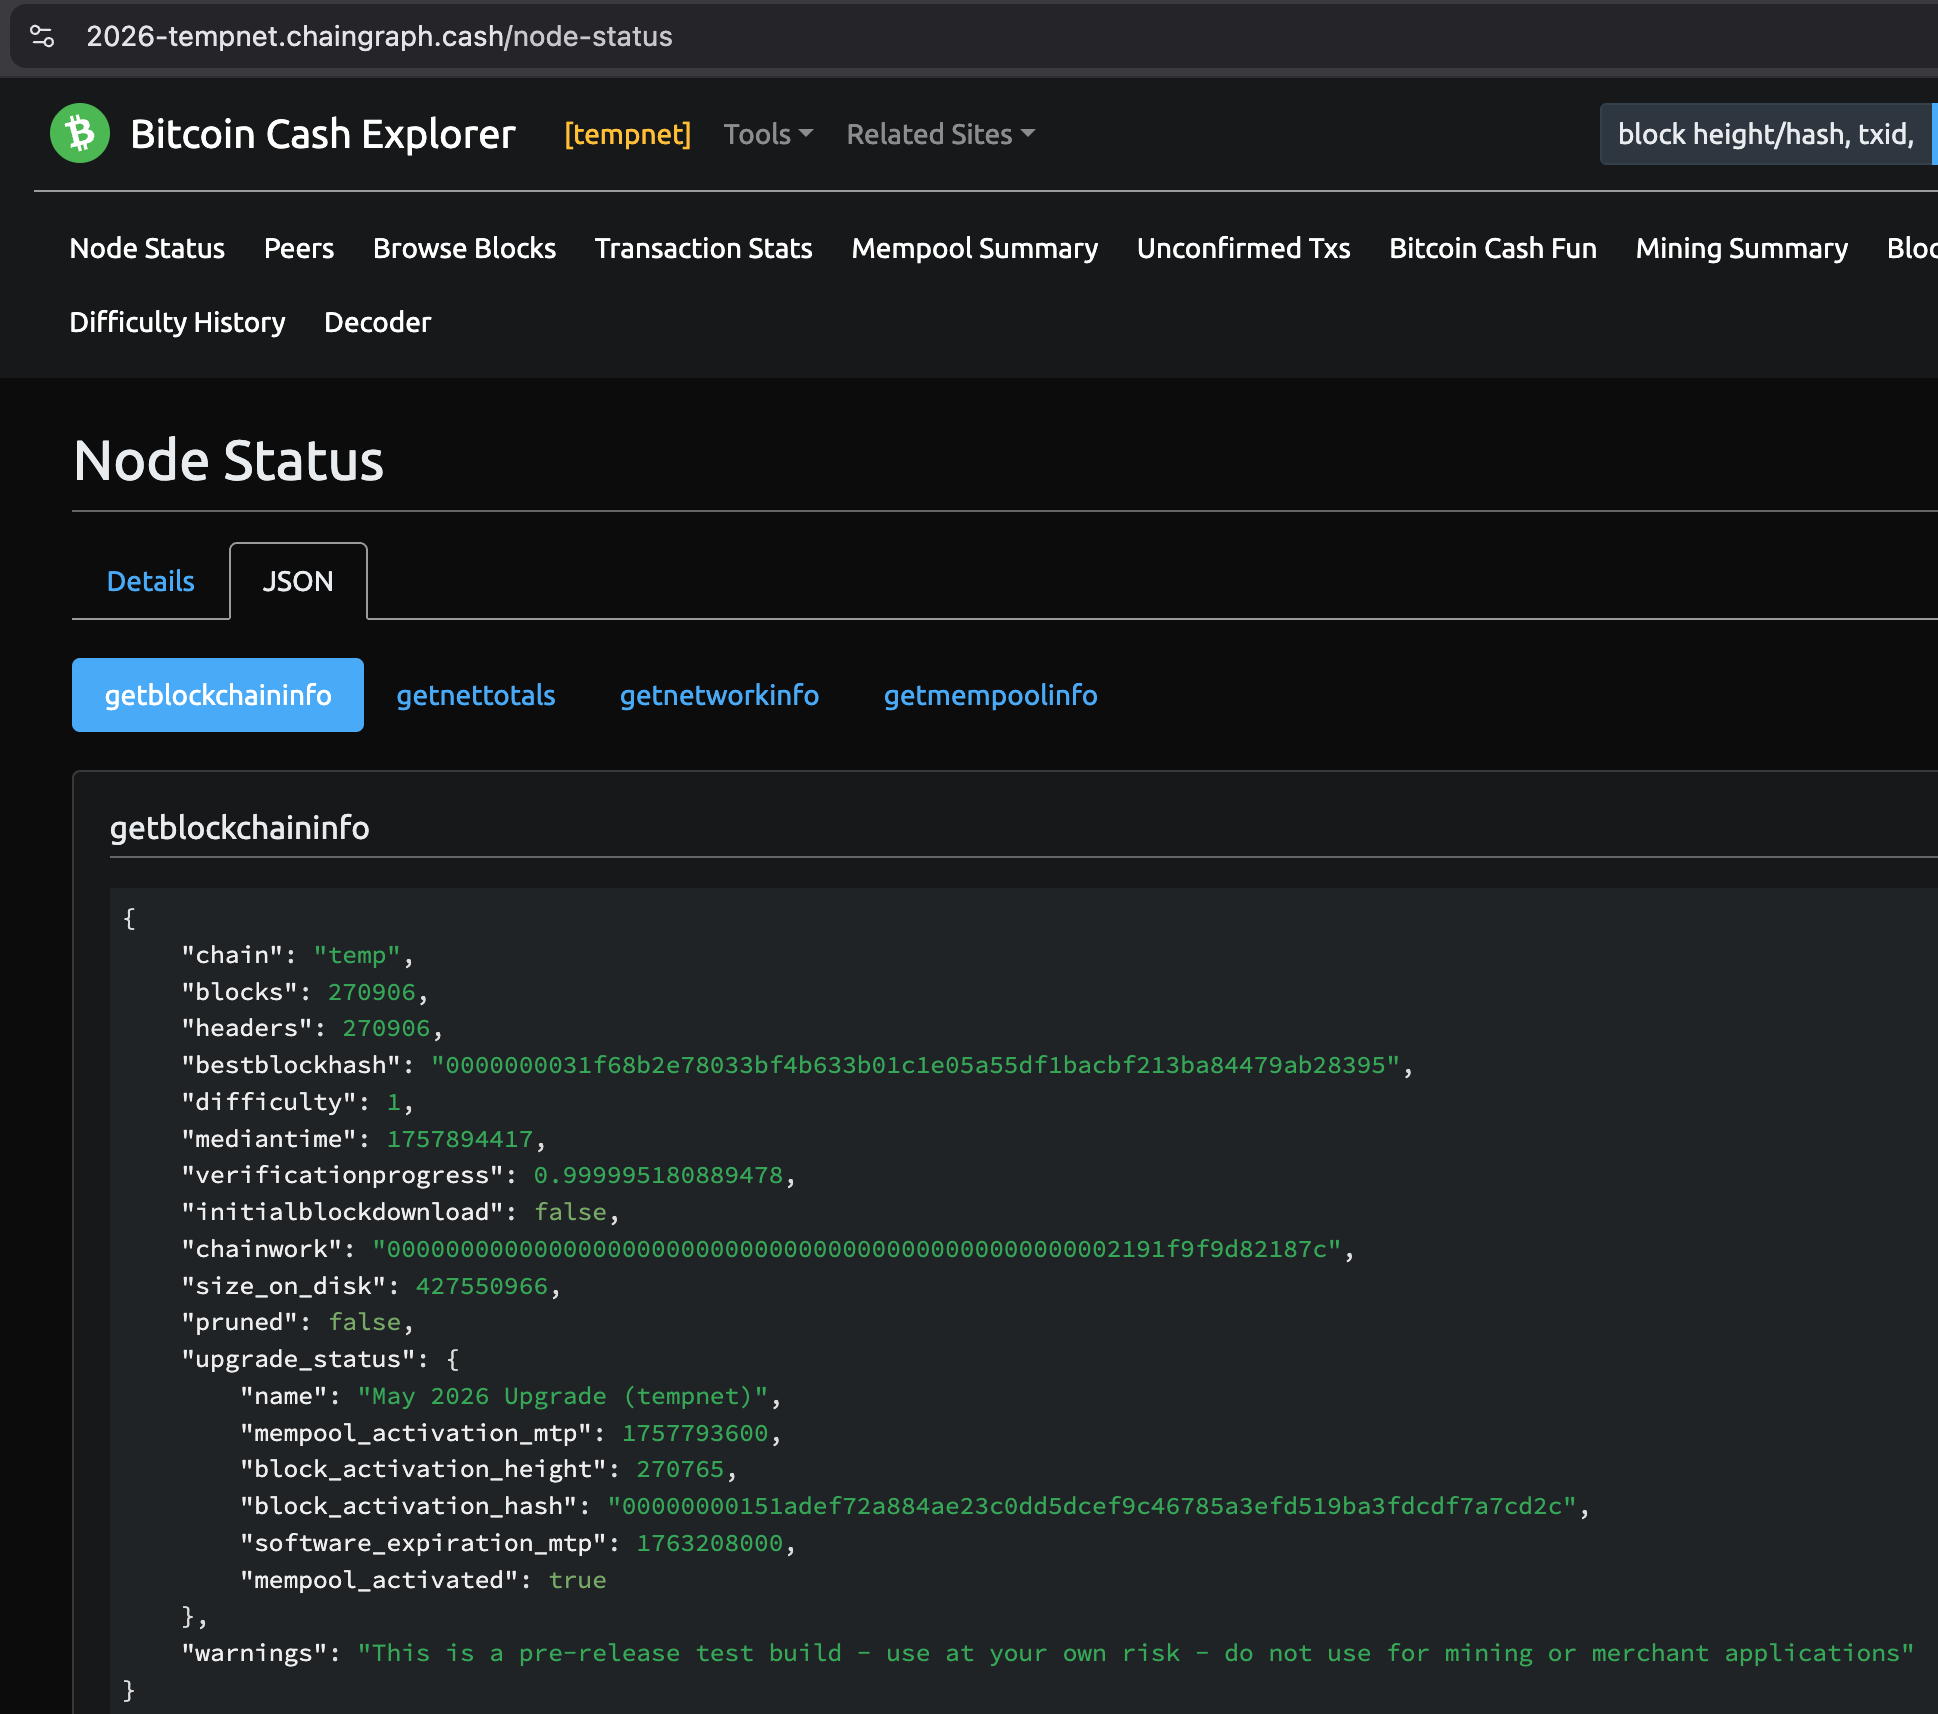
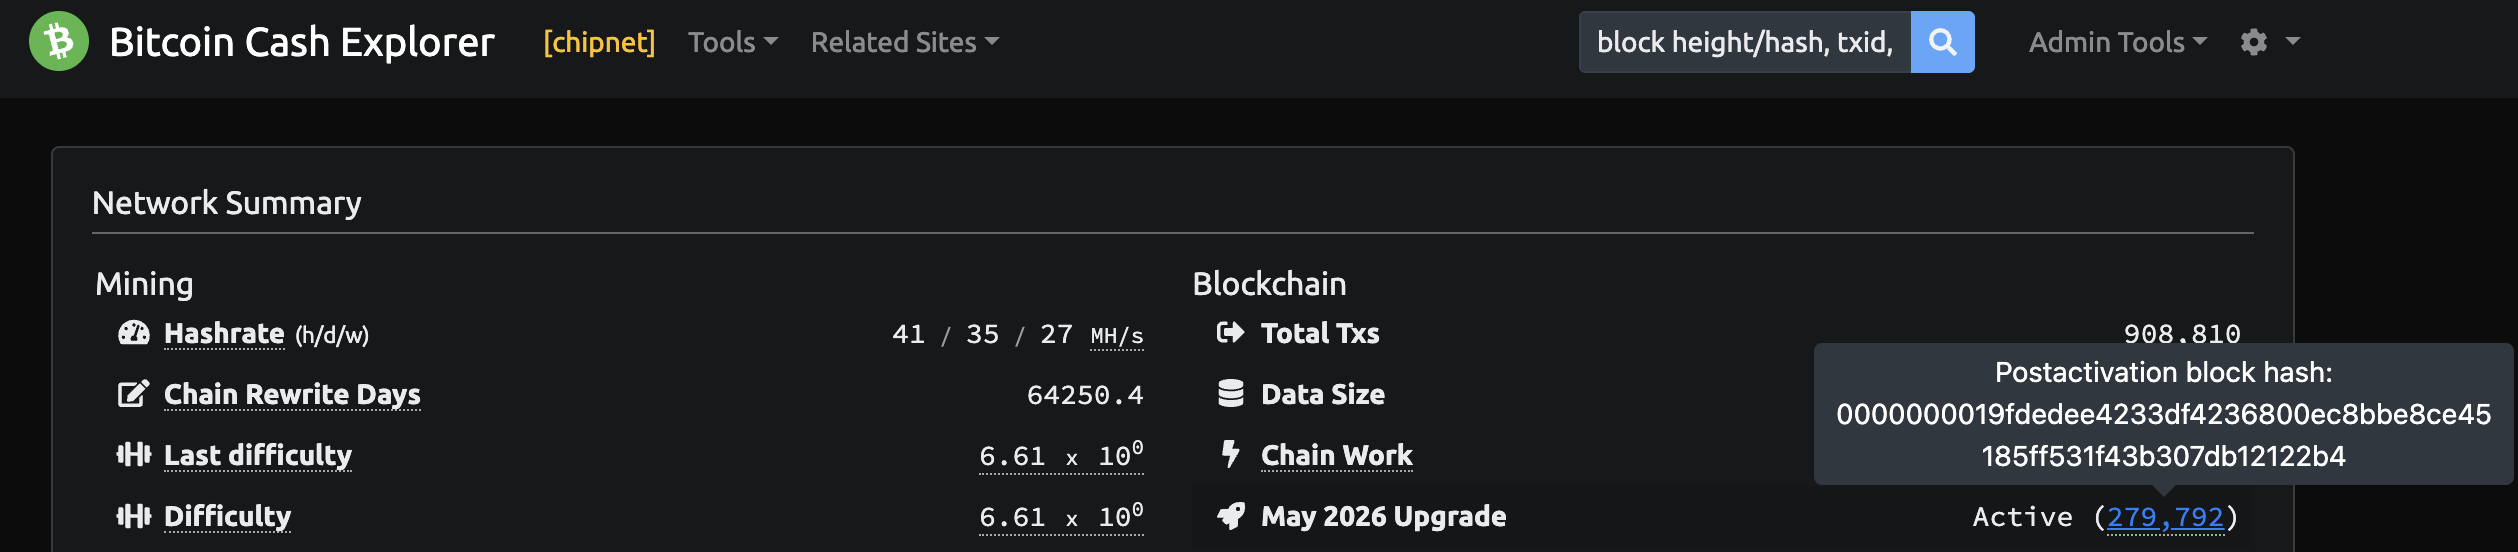
getblockchaininfo.upgrade_status
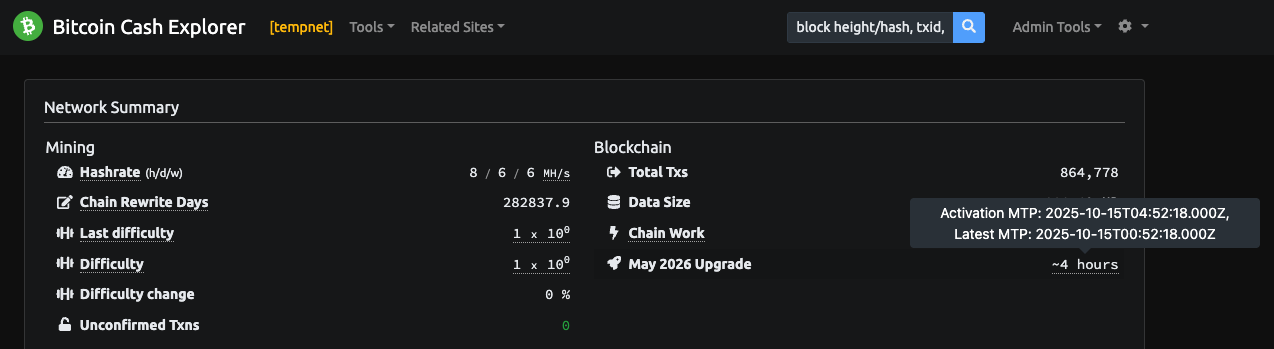
Every year, it’s a pain to follow when exactly the upgrade is happening, and people rely on hacked-together scripts or single-points-of-failure to monitor the upgrade. (Coincidentally, one of the best sources every year, http://cash.coin.dance/, happens to be down at the moment I’m writing this.)
IMO, anyone running BCHN should be able to easily see the status of the most relevant upgrade(s) for the node’s currently configured network. This was actually available in 2015 at getblockchaininfo.softforks (see BTC docs here), but was deleted without replacement after the BCH-BTC split.
Example output before an upgrade activates:
  "upgrade_status": {
    "name": "May 2026 Upgrade (tempnet)",
    "mempool_activation_mtp": 1757937600,
    "block_preactivation_height": null,
    "block_preactivation_hash": null,
    "block_postactivation_height": null,
    "block_postactivation_hash": null,
    "software_expiration_mtp": 1763208000,
    "mempool_activated": false
  },
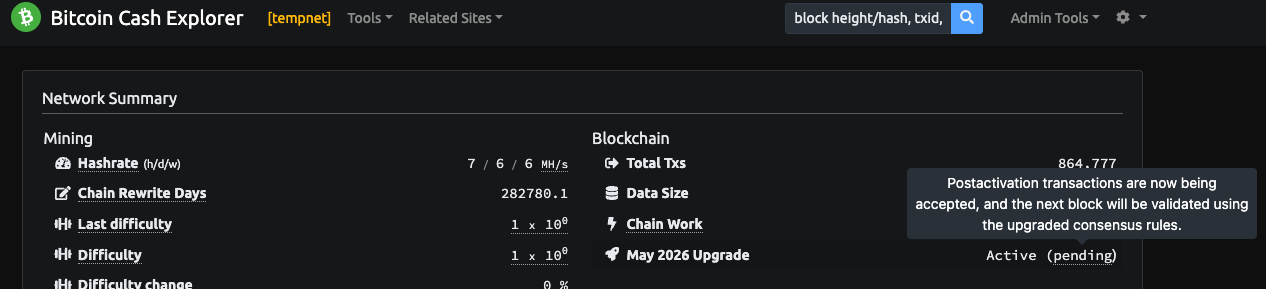
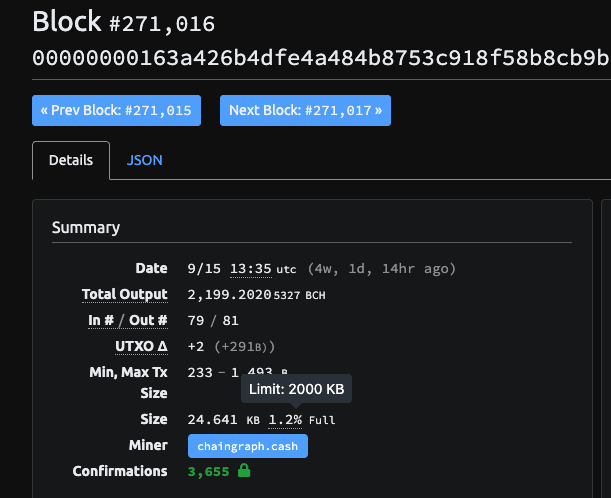
And after an upgrade activates (the locked-in status for the Sept 2025 tempnet):
"upgrade_status": {
"name": "May 2026 Upgrade (tempnet)",
"mempool_activation_mtp": 1757937600,
"block_preactivation_height": 271015,
"block_preactivation_hash": "00000000023062becd19275fa2ec7cbe32d3eb5329708ccb006143865f010af7",
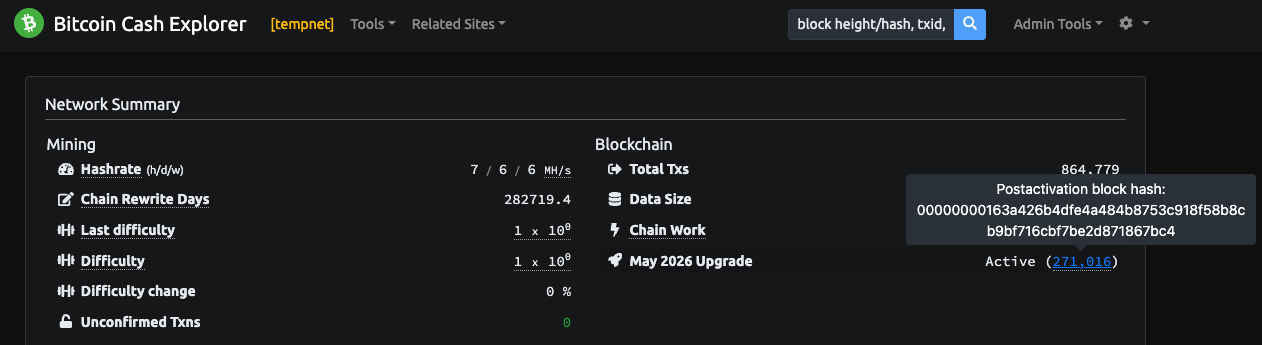
"block_postactivation_height": 271016,
"block_postactivation_hash": "00000000163a426b4dfe4a484b8753c918f58b8cb9bf716cbf7be2d871867bc4",
"software_expiration_mtp": 1763208000,
"mempool_activated": true
},
I iterated a bit on upgrade status information that’s most useful to application developers. I actually confused myself (and LLMs in several places) with the existing “activation block” terminology in the first commit; the second commit adopts a clearer terminology that is harder for application developers to misunderstand:
Clarify “Preactivation” and “postactivation” block
I didn’t fully find-replace “activation block” with the clarified “preactivation” and “postactivation” terminology throughout the whole codebase, but I think that might be a good idea to make off-by-one errors/underhandedness harder to miss. This MR just implements the terminology in upgrade_status and some of the new code/tests.
RPC: Transaction Broadcast Queue: queuebroadcasttx, gettxbroadcastqueue, cancelbroadcasttx
A simple, local broadcast queue (where sends are triggered by a locktime MTP or height being hit) would significantly simplify tooling for a lot of DeFi and advanced applications, like time-locked security vaults, inheritance systems, etc.
Currently, these applications need stateful monitoring infrastructure that is error prone, hard to test, and easily broken by local networking issues. Instead, it would be ideal if application developers can control (via RPC: queuebroadcasttx, gettxbroadcastqueue, cancelbroadcasttx) a simple, local BCHN-managed queue.
Such a local queue also happens to be extremely useful for network upgrades too by allowing developers and companies to easily queue of post-activation transactions. This really reduces the effort required to demonstrate clean launches right after network upgrades – devs should be on podcasts, livestreams, at conferences, etc. bragging about their product at the moment of upgrade – not babysitting their hacked together launch tooling 
This draft implementation is ultra simple: in memory only, queue is deleted on shutdown. If it’s not too difficult, I’d request (for ~20% more value) that queuebroadcasttx accept an optional persist option (default: false) that saves the queued transaction to disk in case the node shuts down before it’s sent.
I wasn’t confident I’d be implementing this reasonably, so I only implemented the default non-persistent behavior – dropping the transaction – (which I think is safer against application-level bugs that accidentally queue too many transactions and get the node OOM killed). But making persistence an option would add another chunk of value (especially for upgrades), by making very long-term persistence more reliable.
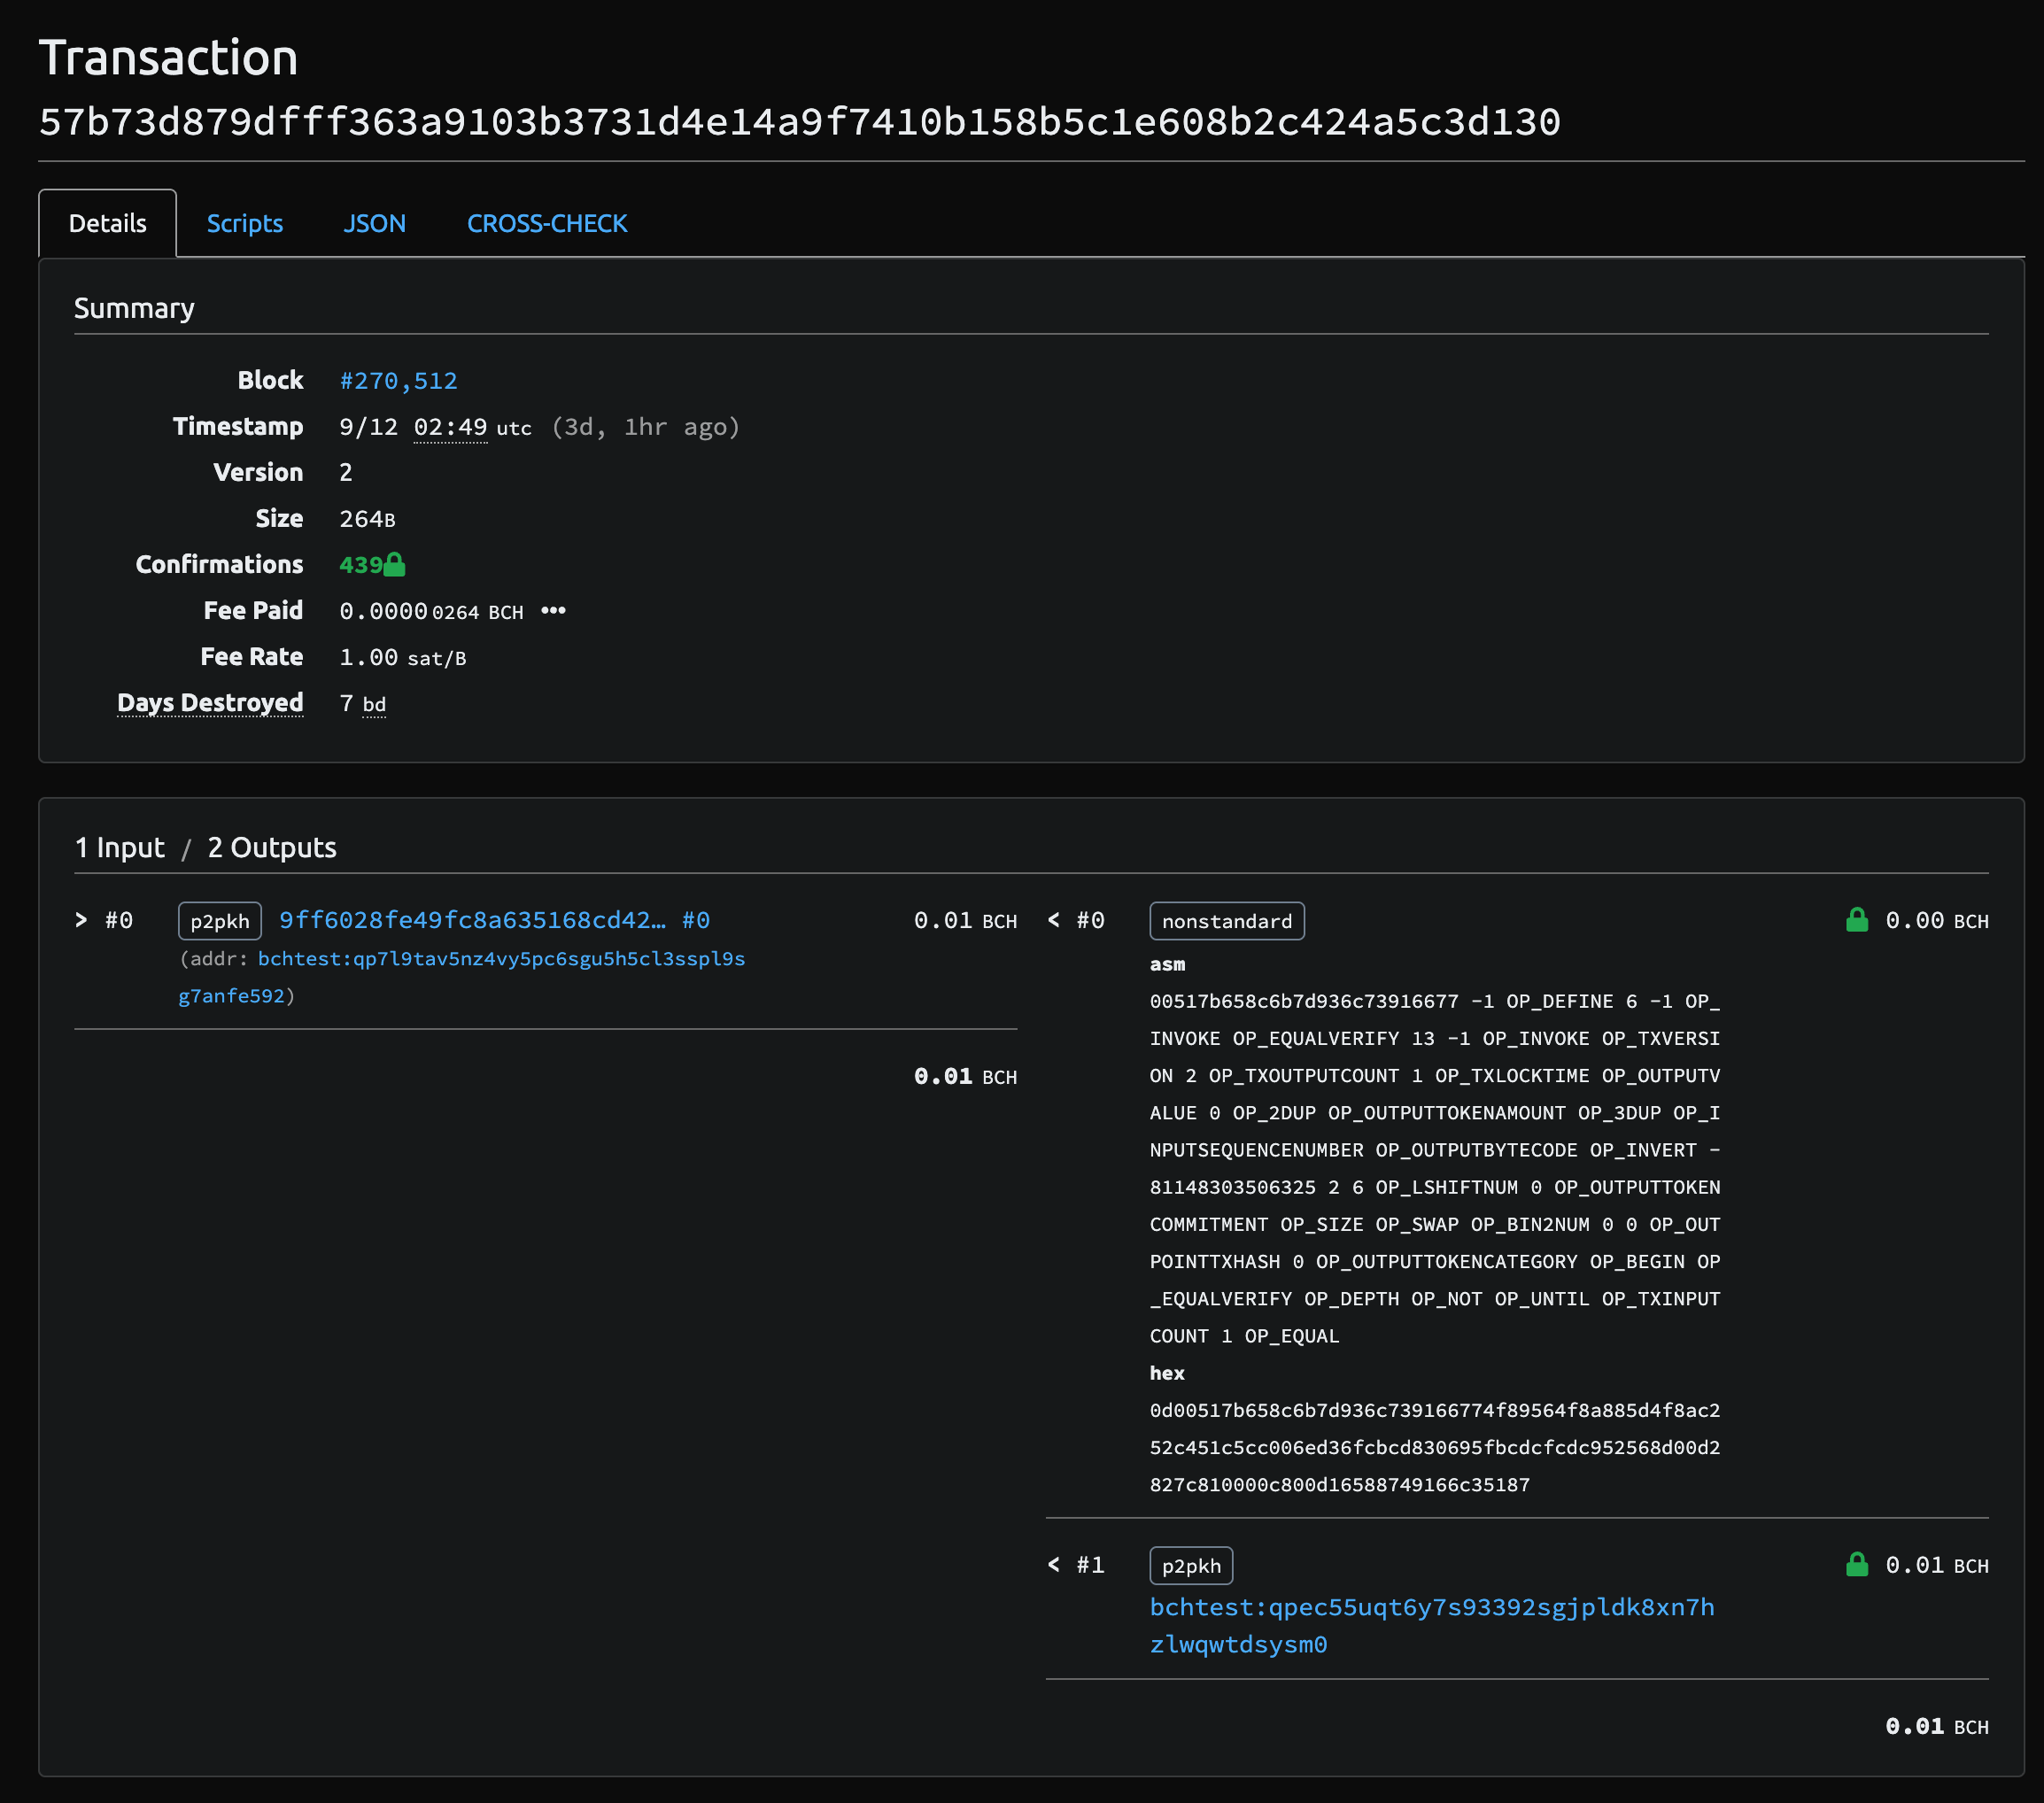
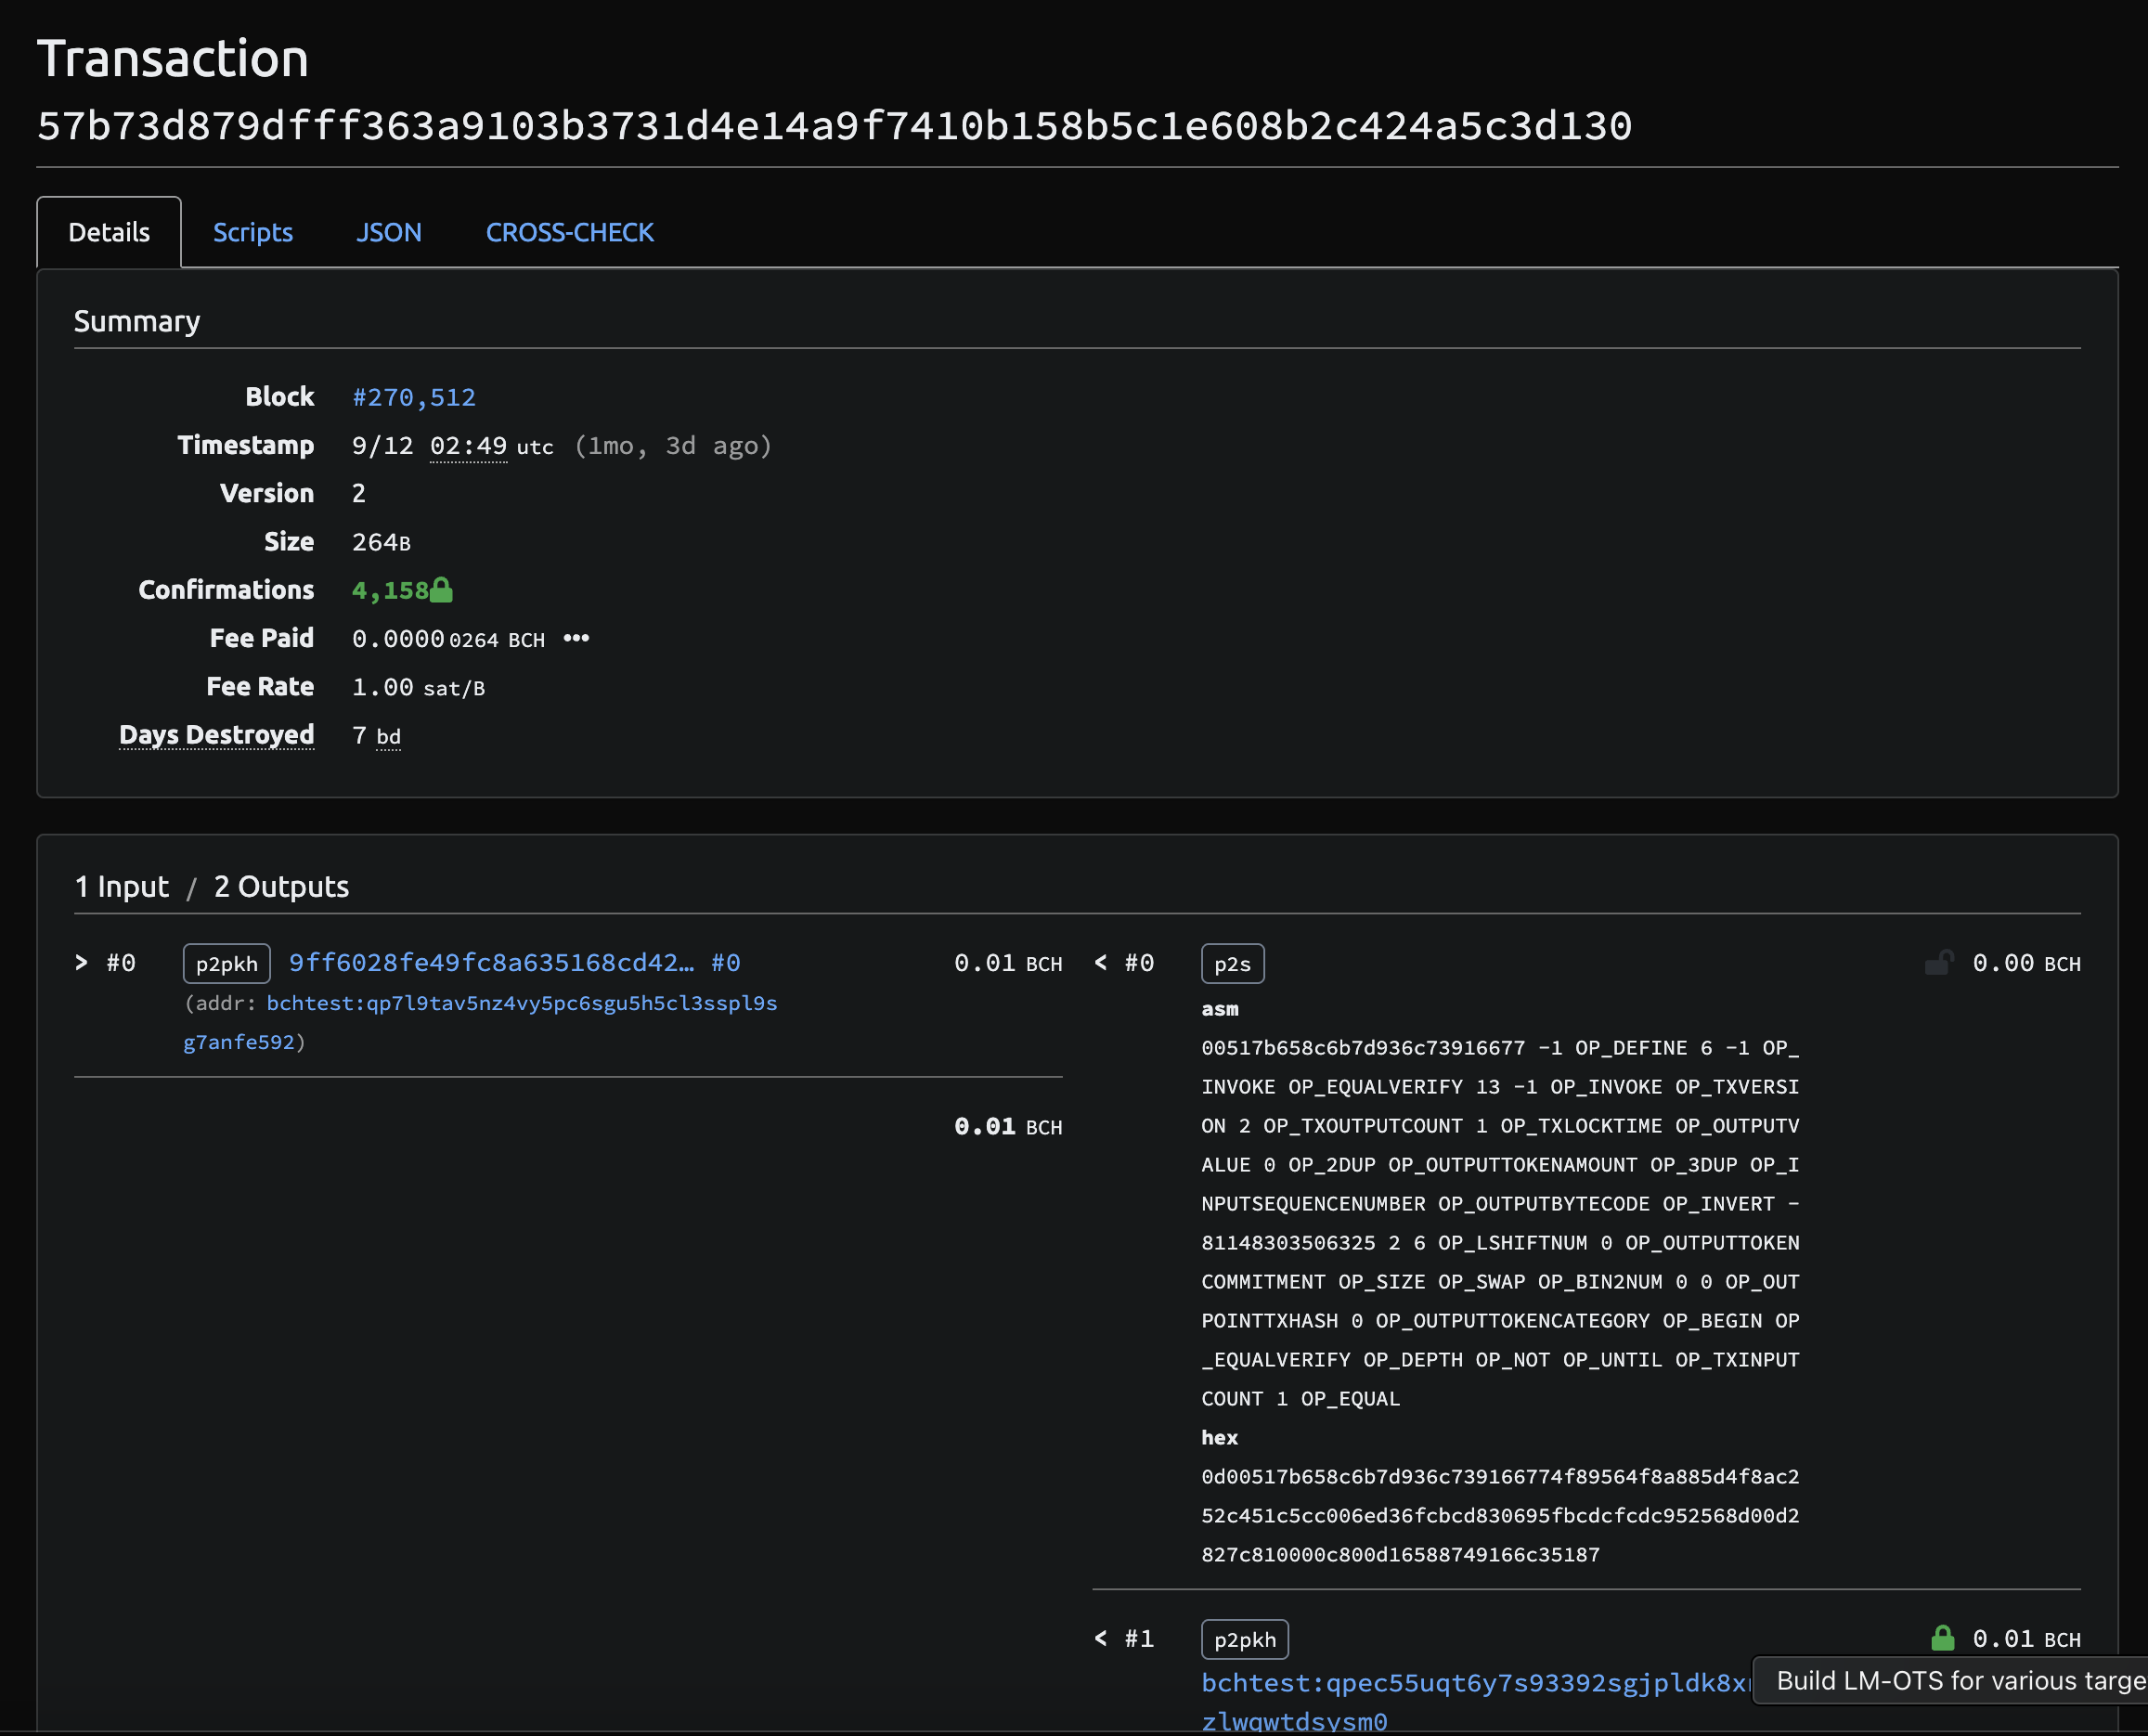
Tempnet/Chipnet “activation transaction” support
This item makes Tempnet/Chipnet upgrades more predictable by letting nodes require that a specific transaction be included in the postactivation block. Today, this is done manually by large miners on whichever network is being upgraded. In the same sense as above – we want developers to be free to livestream/celebrate upgrades, not waiting around to park blocks via RPC.
Having a built-in capability to set your node to require “following the upgrade” makes it a lot easier to prevent shenanigans on Tempnet and Chipnet upgrade days. (We haven’t had this problem yet, but it would be trivial to aggressively re-org a tempnet or chipnet right around the upgrade to cause chaos and hurt confidence. We usually have a lot of mining power standing by ready to defend, but it would be a lot nicer if every BCHN node could simply be preset to refuse a postactivation block which doesn’t have a previously-prepared, trustless covenant transaction like the one I’ve prepared for the 2025 Nov Chipnet upgrade. This would again free up BCH devs during the actual upgrades.)
Again, these are proposed BCHN features, not necessarily related to the 2026 CHIPs. These features could reasonably be contributed to master (one at a time), and the 2026 CHIPs then rebased on top. I hacked these features into this WIP branch to make the Sept. 15 Tempnet a little easier to launch, but please consider this MR a UX draft/prototype.